Enabling the Vendor Prepayments Feature:
- Go to Setup > Company > Setup Tasks > Enable Features.
- Click the Accounting subtab.
- In the Basic Features section, verify that the A/P box is checked.
- In the Advanced Features section, check the Vendor Prepayments box.
- Save.
Configure the Default Vendor Prepayments Account:
We can configure the vendor prepayment account at the company level. If we are using NetSuite One World configure the account at the subsidiary level. Account should be only as Other Current Asset types. This account NetSuite populates by default when entering a new vendor prepayment transaction.
- Default vendor prepayment account configuration at the company level:
- Go to Setup > Accounting > Preferences > Accounting Preferences (Administrator).
- In Accounts Payable section, select the account from the Vendor Prepayment Account dropdown list. Default vendor prepayment account configuration at the subsidiary level:
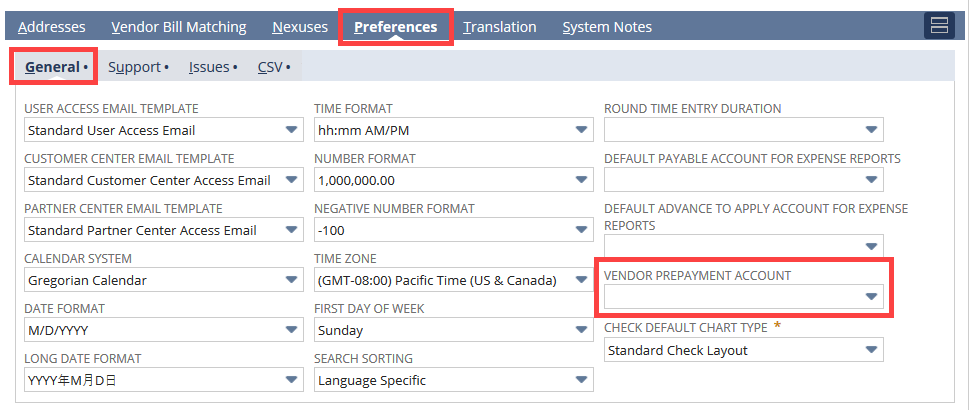
- Go to Setup > Company > Classifications > Subsidiaries (Administrator).
- Click Edit and go to the Preferences subtab
- Click the General subtab.
- Select the Vendor Prepayment Account from the dropdown list.
- Click Save.